Feeling sick in Japan can be unsettling, but the system is designed to keep things simple once you know how it works. From check-in to picking up medicine, the steps are surprisingly clear—and much less intimidating once you’ve gone through them once.
Find the Right Clinic in Japan
Japan doesn’t have a GP system like in many Western countries. Instead, you head directly to the department that matches your symptoms—internal medicine (内科 naika) for fever or stomach issues, dermatology (皮膚科 hifuka) for skin problems, ENT (耳鼻咽喉科 jibiiinkōka) for throat or ear concerns, and so on.
Not sure which one you need? Our guide Navigating Japan’s Healthcare System: A Practical Guide for Expats breaks down the specialties and explains how the system works.
Step 2: Make a Medical Appointment (Optional)
Many clinics accept walk-ins—convenient if you want to be seen quickly. But popular hospitals can get crowded, and waiting times stretch out. Some clinics let you book by phone or online, which can save you time and give you a chance to check if an English-speaking doctor is available.
If you’d rather not gamble on communication, see also our guide: How to Book English-Speaking Doctors and Pharmacies in Japan.
Step 3: Show Your Insurance Card and ID
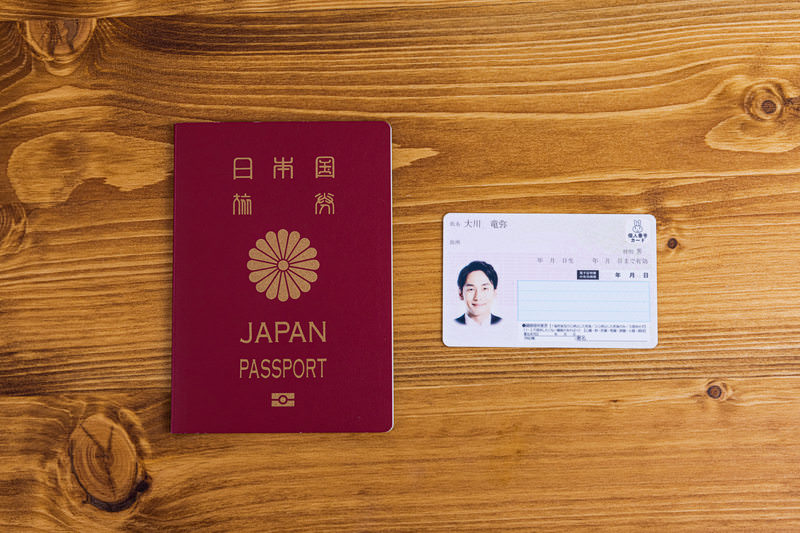
At reception, you’ll be asked for your health insurance card (if you have one) and an ID such as your passport or residence card.
- With public health insurance: you pay only 30% of the medical bill, and the clinic settles the rest with the insurer.
- Without insurance: you must pay the full amount upfront. If you have private or travel insurance, you’ll usually pay first and then file a claim later.
- Forgot your card? You’ll be billed 100% on the day, but if you bring the card later, the difference is refunded.
If you forget your insurance card, you’ll be charged the full amount, but you can bring the card later to get the difference refunded.
Step 4: Fill Out the Forms
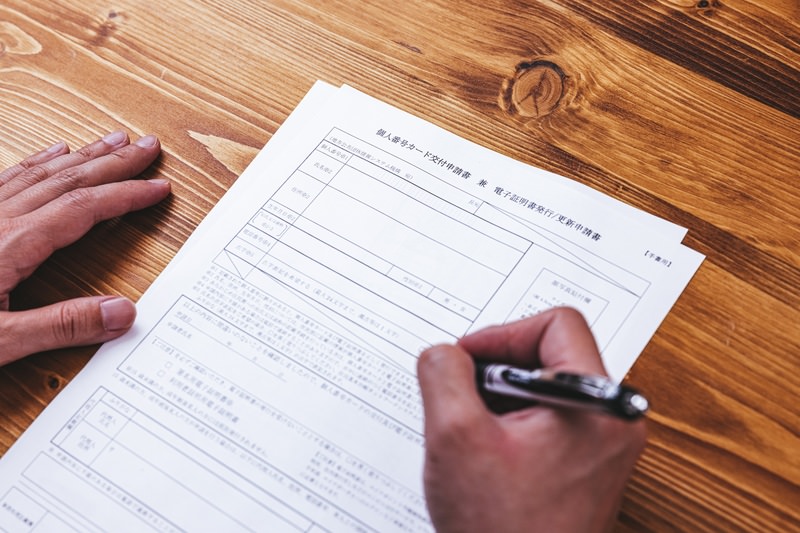
You’ll usually be handed one sheet that combines both the registration form (診療申込書 shinryō mōshikomisho) and the medical questionnaire (問診票 monshin-hyō).
Expect to write down:
- Basic details (name, address, phone number, first-time visit, etc.)
- Insurance status
- Symptoms and when they started
- Current medications and allergies
- Past illnesses or surgeries
- Languages spoken, or special considerations (e.g., religious needs)
If Japanese feels tough, a translation app helps. Big hospitals often have staff used to foreign patients, but small clinics may not. And if language is a big concern, services like Hotel de Doctor 24 let you consult online with doctors in your native language.
Step 5: Seeing a Doctor

When your name is called, you’ll be shown into the consultation room. The doctor will confirm what you wrote and ask questions.
A few tips:
- Speak slowly and simply if you’re using English.
- Write down your symptoms and timeline beforehand—it makes things smoother.
- Don’t expect long chats. Japanese consultations tend to be brief and focused.
Depending on your condition, you might get a prescription, have tests ordered, or be referred to a larger hospital.
Step 6: Pay at Reception
After the consultation, you’ll head back to the waiting area. When the bill is ready, staff will call your name.
At reception you’ll:
- Pay your share of the cost (30% if insured, 100% if not).
- Receive a receipt (領収書 ryōshūsho) and an itemized statement (診療明細書 shinryō meisai-sho).
- Get your prescription slip (処方箋 shohōsen) if medicine is prescribed.
💡 Tip: Big hospitals often accept cards, but small clinics prefer cash. Bring enough yen just in case.
And if you need a medical certificate (診断書 shin-dan-sho) for insurance claims, it costs extra—usually around ¥5,000.
- Speak slowly and simply if you’re using English.
- If you’re worried about language, prepare a short note with your symptoms and timeline.
- Don’t be surprised if the doctor doesn’t explain every detail—Japanese consultations are often brief and to the point.
Depending on your condition, the doctor may order tests, write a prescription, or refer you to a larger hospital.
Step 7: Get Your Medicine at the Pharmacy
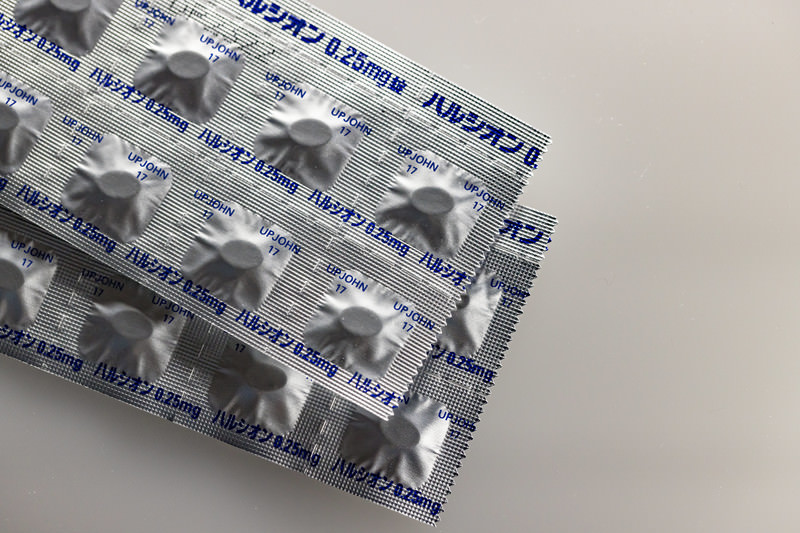
In Japan, doctors issue a paper prescription and you fill it at an outside pharmacy (薬局). Most prescriptions are valid for 4 days including the issue date, so go soon after your visit. For refills, generics, and pharmacy search tips, see How Prescriptions Work in Japan.
You’re not limited to the one next to the clinic—any pharmacy in Japan can fill it.
What to expect:
- Insurance card: bring it to pay only 30% if you’re insured.
- Separate payment: pharmacy charges are not included in your clinic bill.
- Clear instructions: pharmacists explain dosage, often with simple Japanese or pictograms. Some add English labels.
If you’re unsure, ask. Pharmacists are trained to help you understand how and when to take your medicine safely.
Wrap-Up & Aftercare Tips
That’s it—you’re done! From registration to pharmacy, the process is systematic once you know the flow.
A few tips for smooth aftercare:
- Keep receipts for insurance claims or tax deductions.
- Carry enough cash, especially at smaller clinics and pharmacies.
- Double-check your prescription instructions.
- Don’t hesitate to return if symptoms persist or ask for a referral to a larger hospital.
And remember: emergencies follow different rules. Dial 119 for an ambulance or fire, and 110 for the police. For details, see our guide: Emergency Numbers in Japan: How to Call for Help (119 & 110).


3 thoughts on “Visiting a Clinic in Japan: Step-by-Step Guide for Expats”